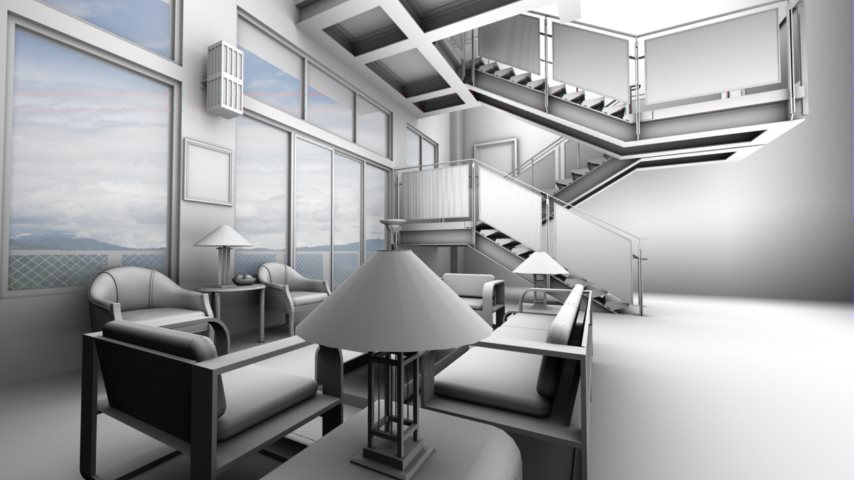
To Render and Load an Ambient Occlusion Image in Effects Manager
- Open the Render Setup Manager dialog.
- Select Ambient Occlusion from the list of render setups.
- Set the Occlusion Rays and Occlusion Range.
- In the Luxology Render dialog, select Ambient Occlusion from the Display drop-down. The light setup and environment setup will not matter so they can be left as Untitled.
- Render the desired view.
- Use Windows Explorer to navigate to the Luxology history folder.
- Copy or cut the most recent BIMG file. This will be the Ambient Occlusion render.
- Paste the file to the folder with other images rendered in Effects Manager.
- (Optional) Give the file a desired name for easy recognition.
- From the Effects Manager, click the Load Image Into Set icon.
- Navigate to the folder where you rendered the images used by the Effects Manager and select the newly added image.

